Ambient Light TV with a Raspberry Pi and a Webcam (Part 2)
In this post I’ll go into more detail about how I built the ambient light rig. Here’s the previous part in case you missed it. I’m not the first to make one of these, so this isn’t going to be a step-by-step instructable. Instead, I’ll focus on the things I did differently (like the camera) and link to the resources I used for everything else.
Most rigs out there use an Arduino linked to a PC, which is relatively easy to implement but only works with a video stream from the PC’s graphics card. For most people that’s fine. You can also buy ready-made systems that work the same way: LiveLight.
I wanted every input to work: PC, cable TV, Apple TV and gaming consoles.
For that I’d need access to all the feeds going into the TV. Intercepting an HDMI signal before it reaches the TV is technically possible, but the hardware was far too expensive. The only affordable alternative was a webcam, knowing that frame rate, lag and color inaccuracies were going to be a trade-off.
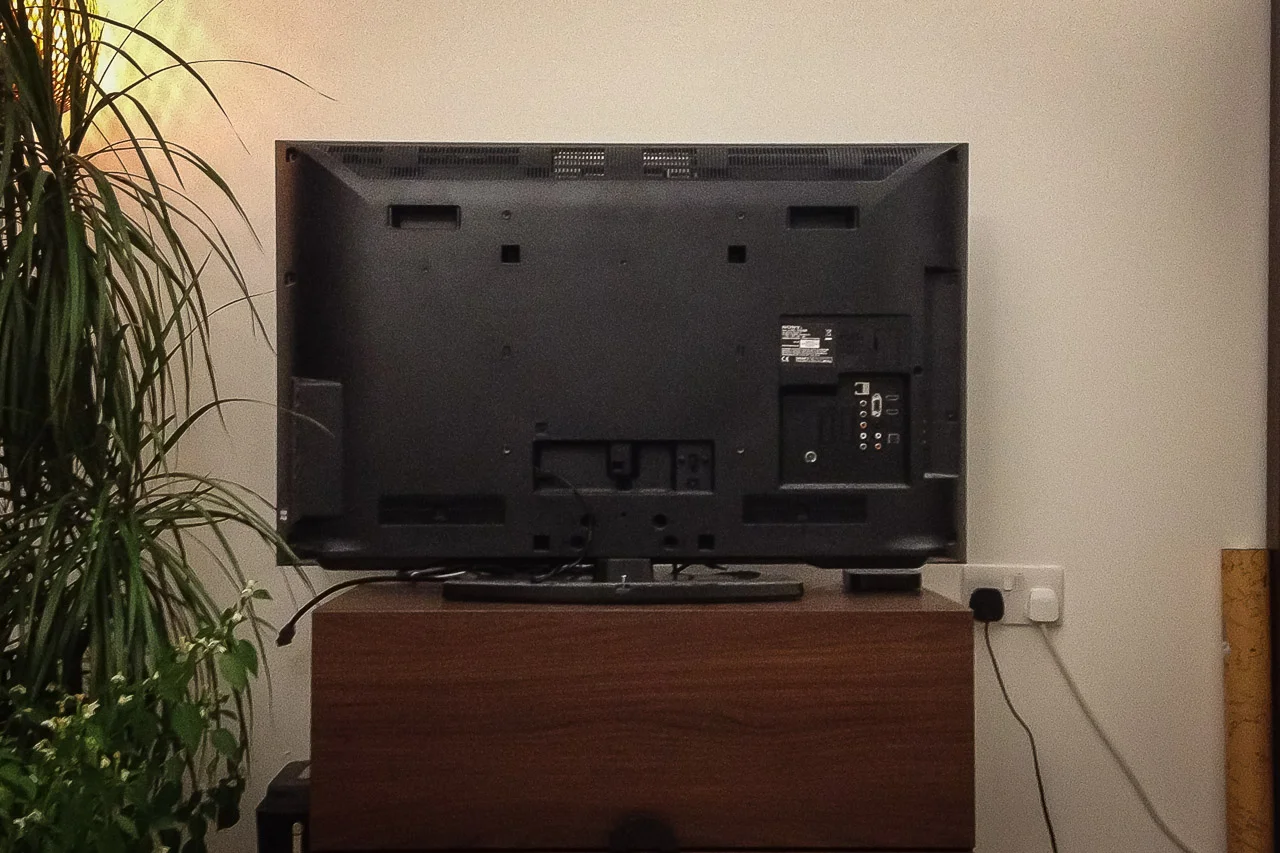
The camera is best placed pointing directly at the screen to avoid glare and viewing angle color inaccuracies. In my case, I only had two viable options:
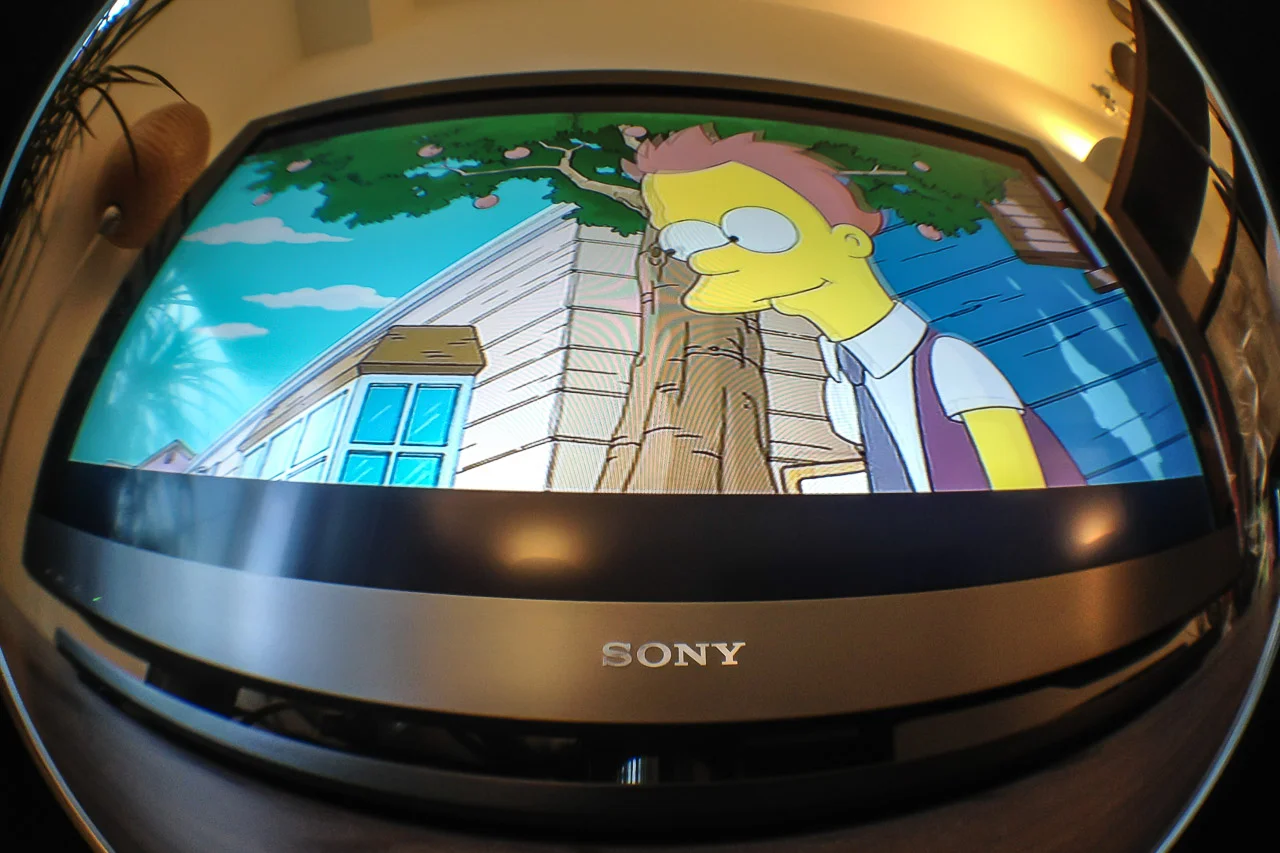
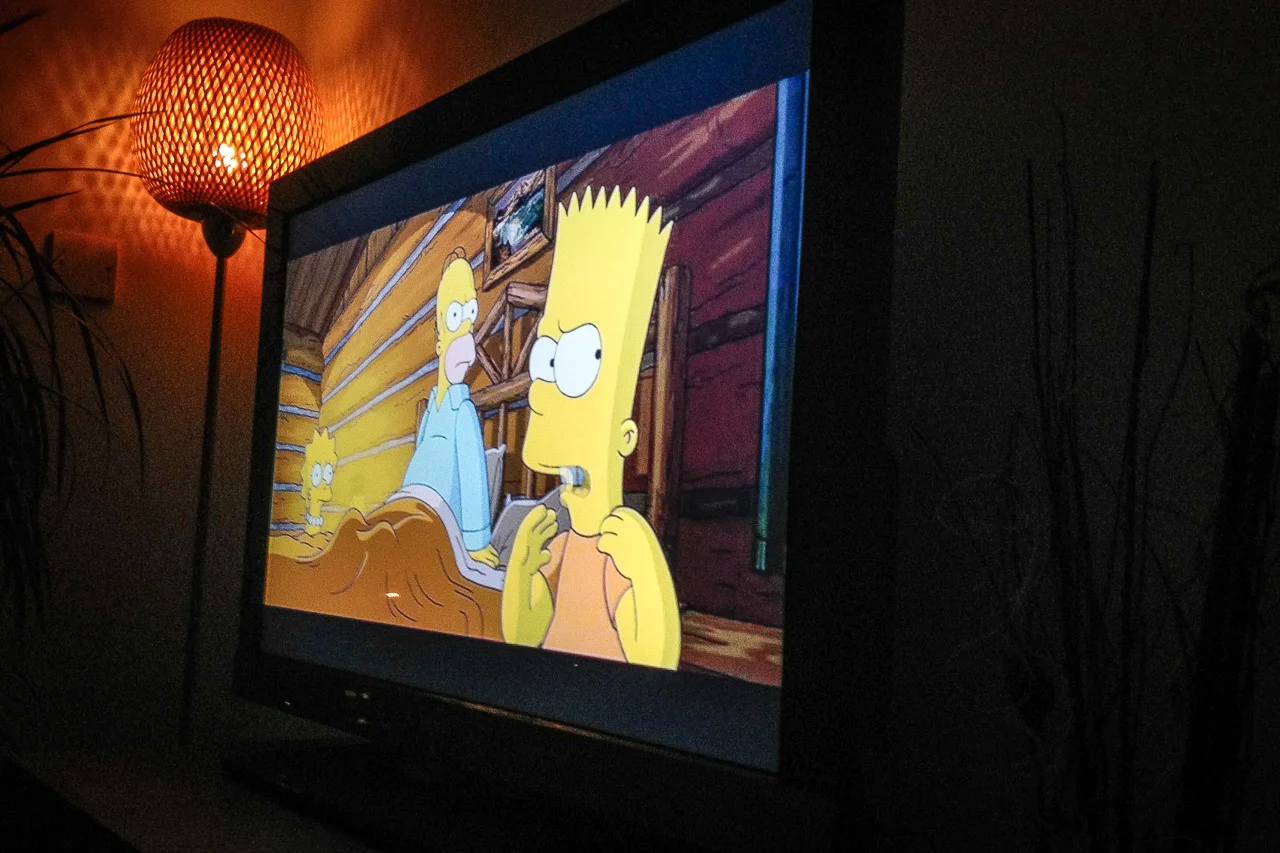
As you see in the second picture, I had to close the curtains because at that angle the TV reflects everything from the window adjacent to it. This wasn’t a big problem since I prefer to close the curtains when watching a movie or playing games anyway.
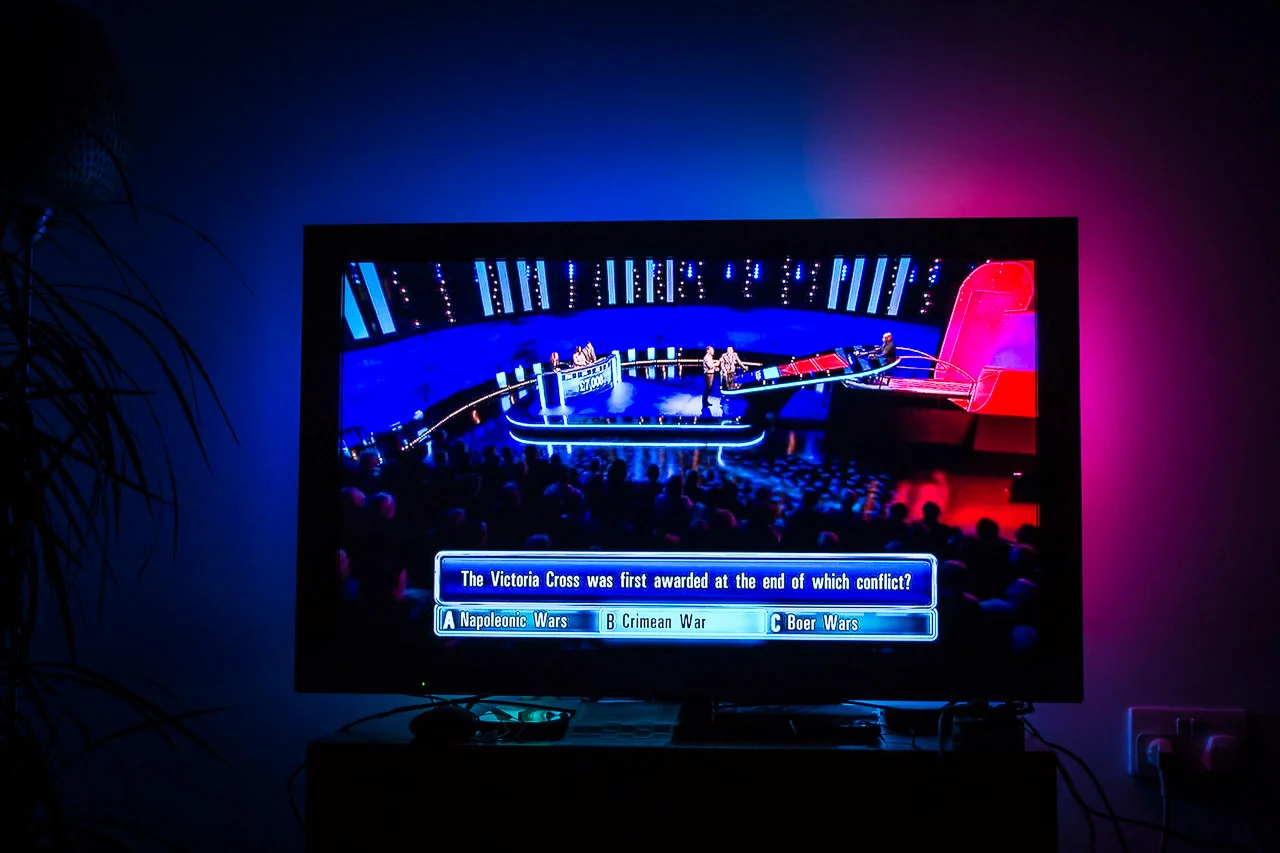
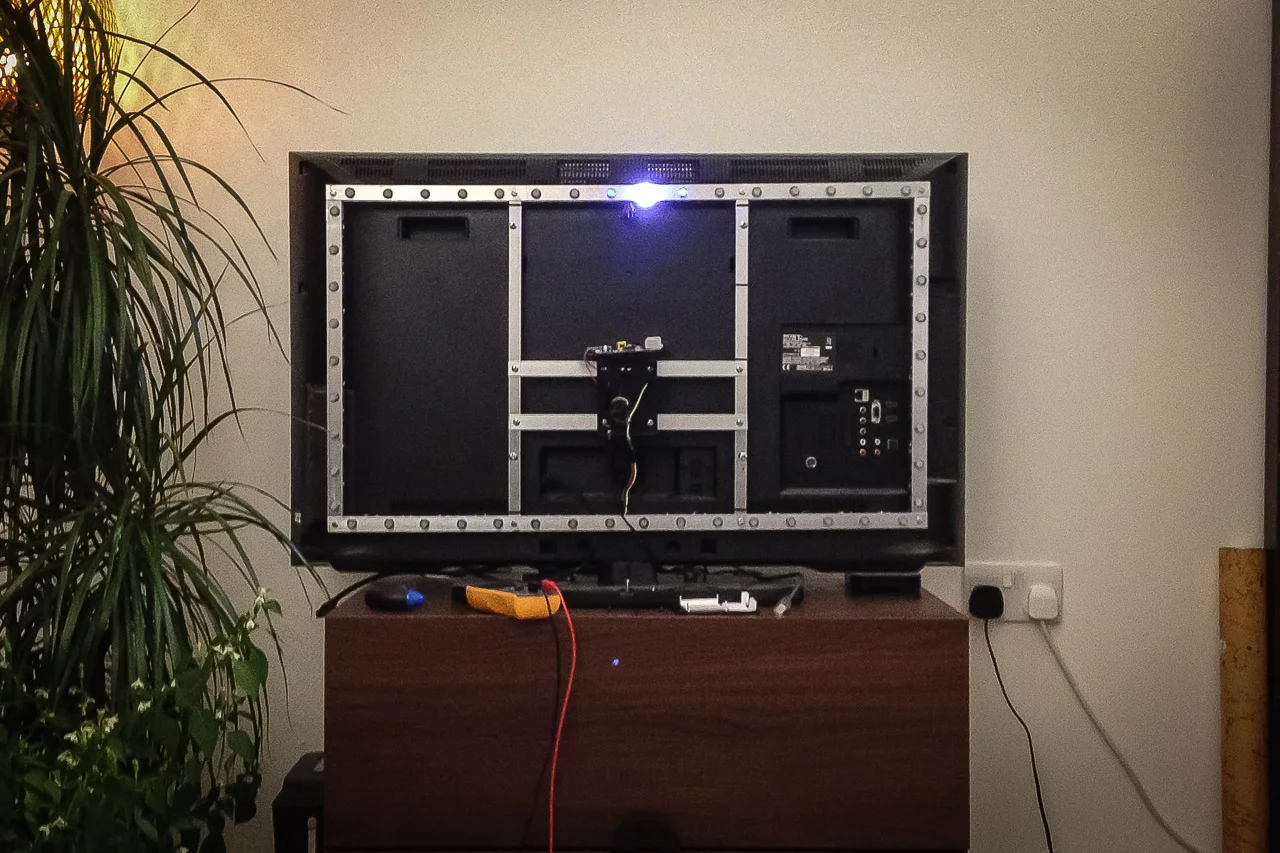
Pure blacks tend to be more blueish too, but I can live with that. This actually has a nice effect when the screen goes dark, as the whole rig glows blue providing some light in the room.
For the webcam, I used a Logitech C250 (because I already had one). It captures at various resolutions and has a manual focus ring, which is great — you can intentionally set it out of focus to get color averaging for free.
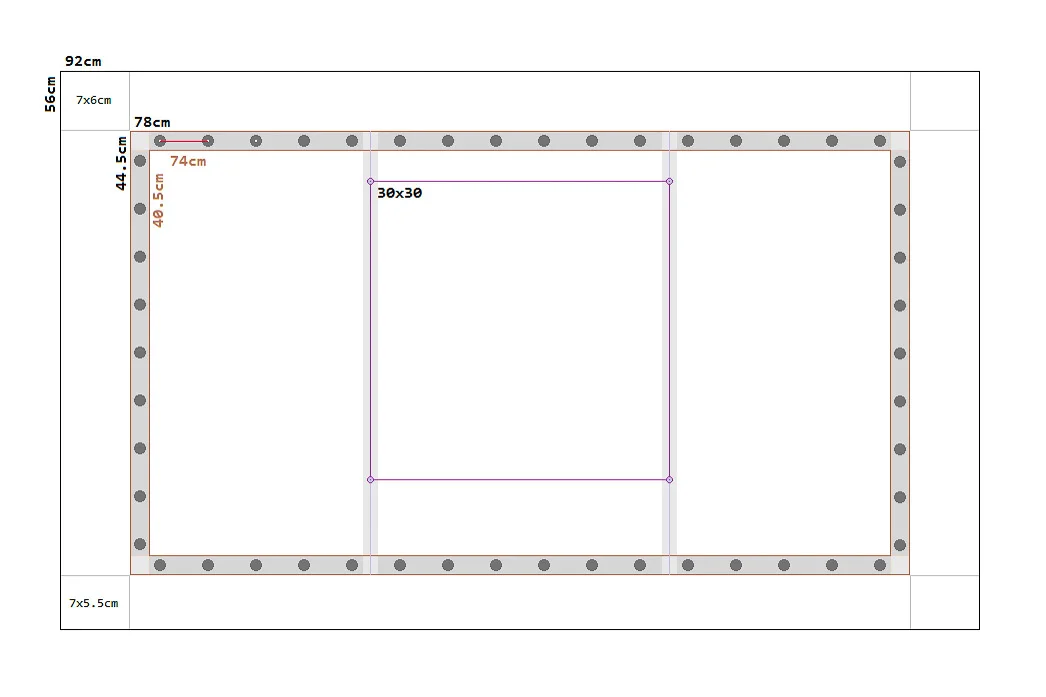
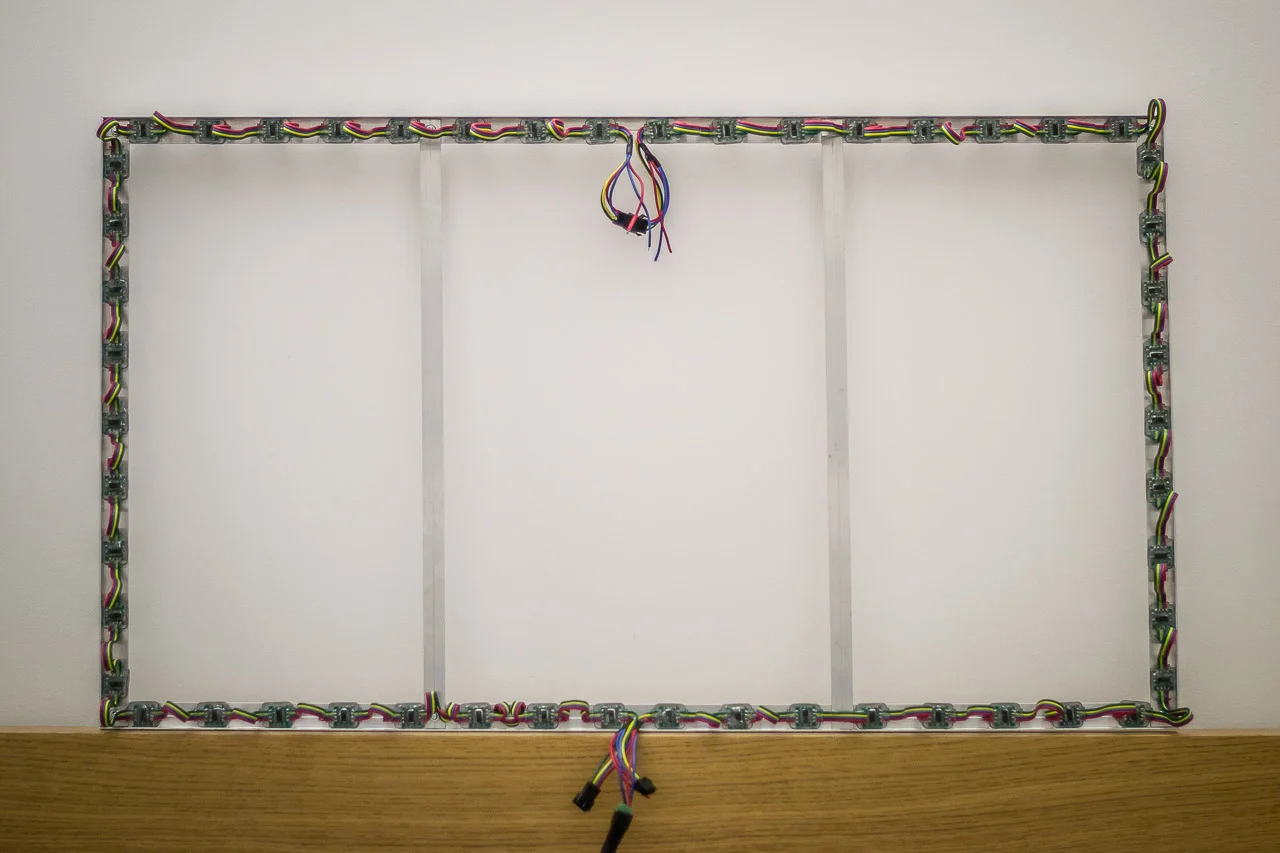
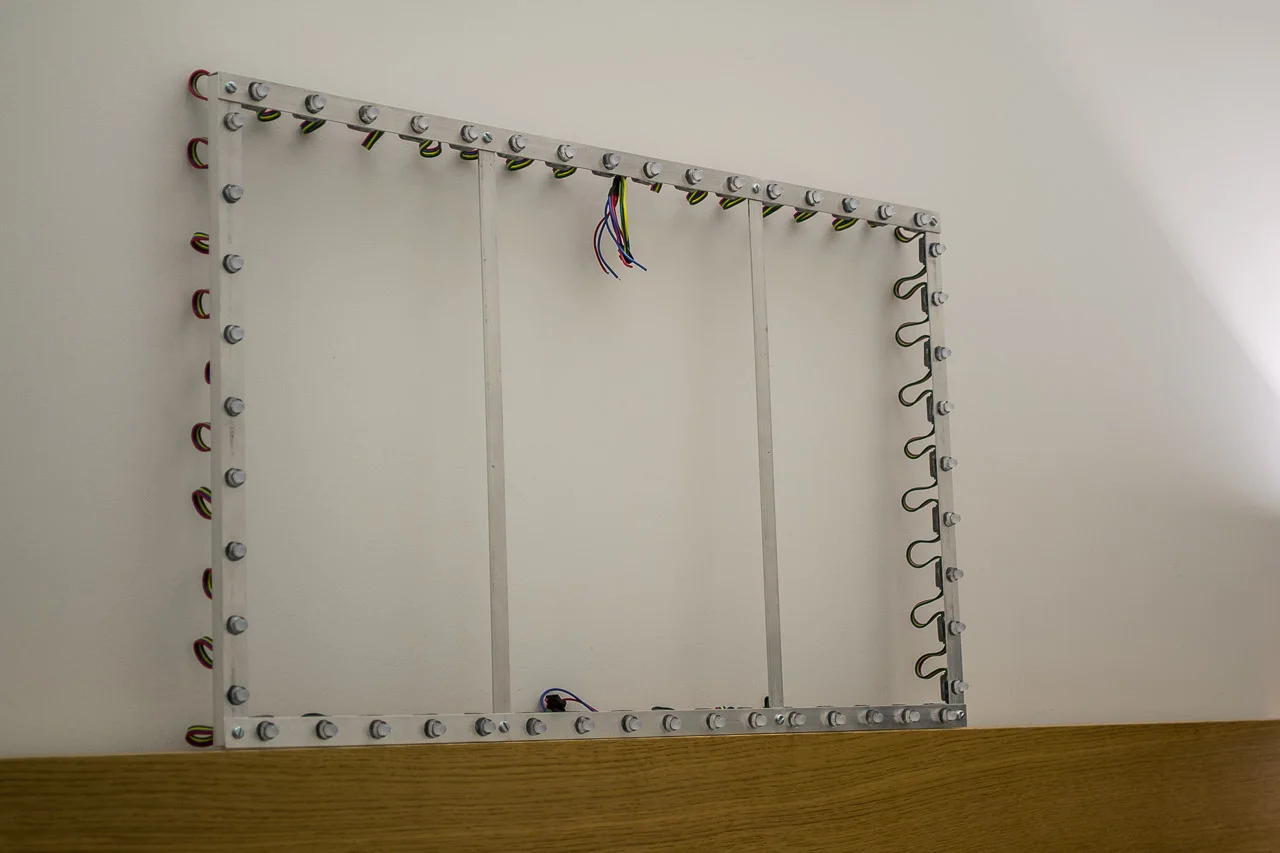
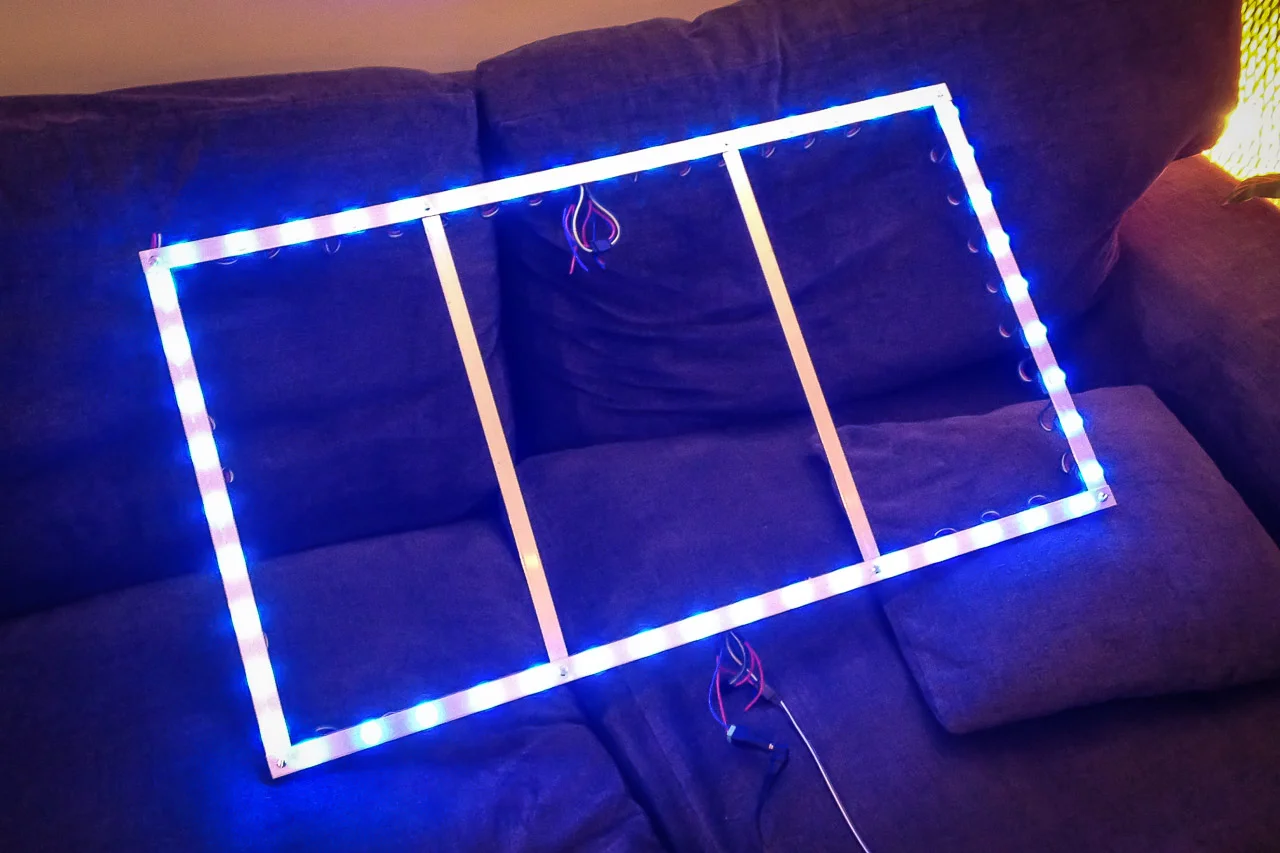
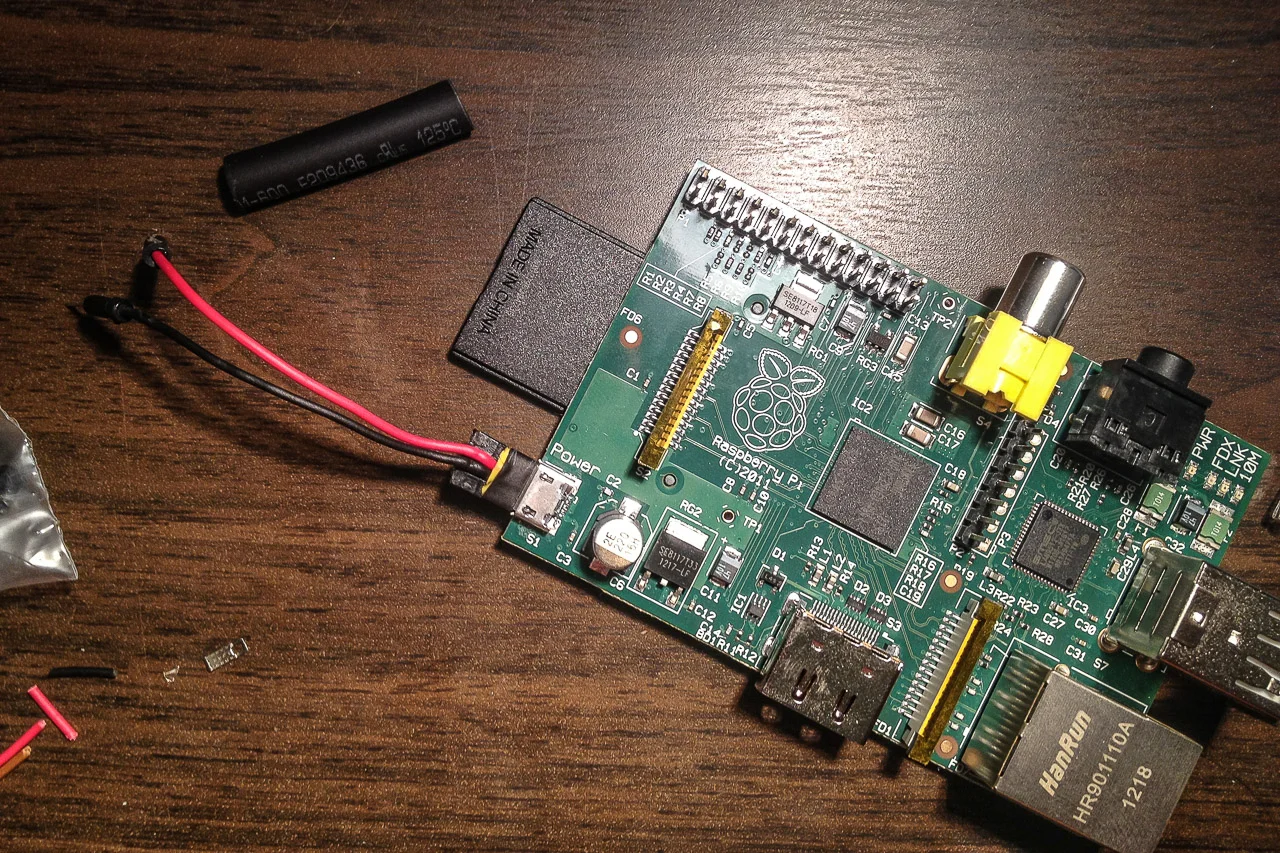
The Adalight tutorial was a good guide for building the frame. This is what I used:
- 1x Raspberry Pi (any version works)
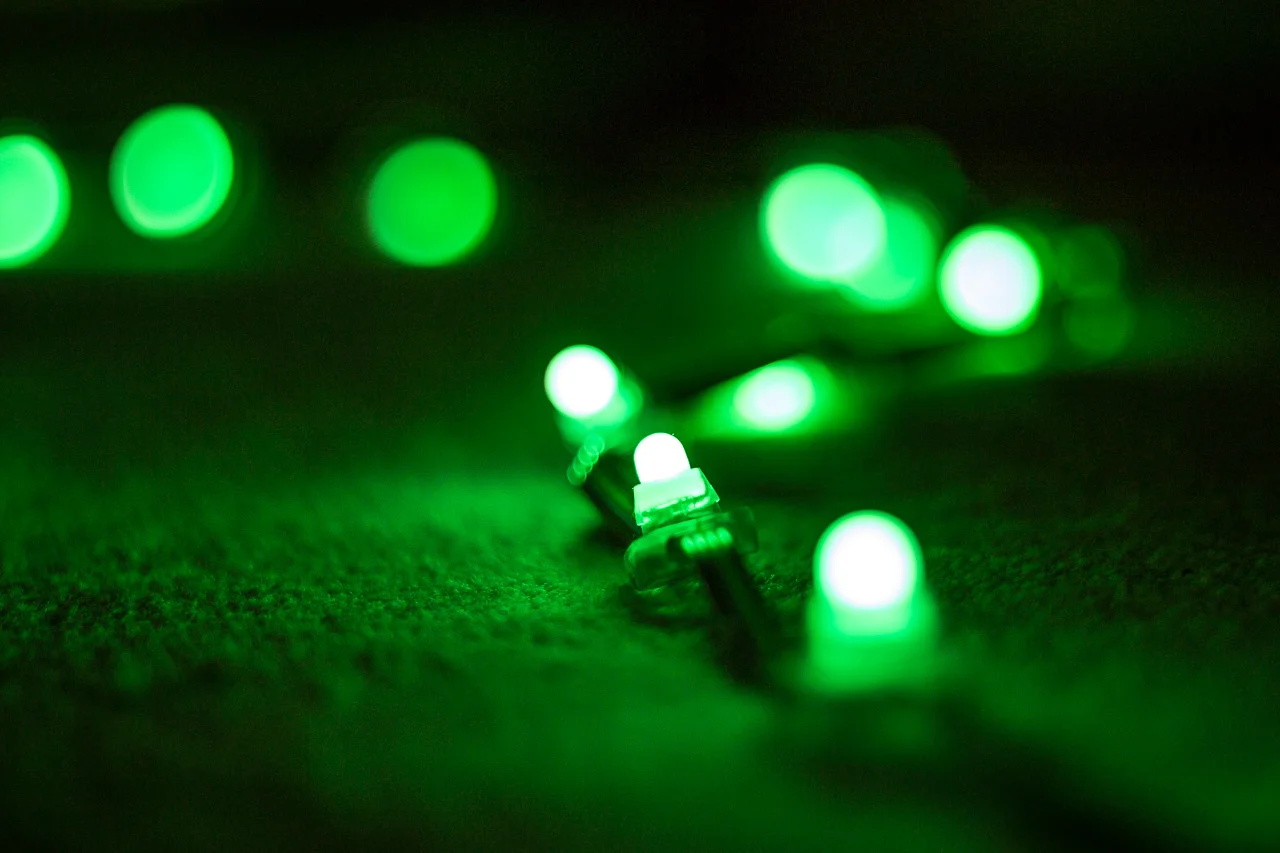
- 2x 12mm Diffused Flat Digital RGB LED Pixels (Strand of 25)
- 1x Stontronics 5V DC 4A Power Supply Unit T2502ST (Powers both the LEDs and the Pi)
- 1x 100x75x40mm Housing for the Pi
- 1x 2.1mm Power Socket (Rated 5A)
- 1x Rocker Switch
- 1x Micro USB
- Some grommets
- 4x Angled aluminium profiles
- Small nuts and bolts to attach the profiles
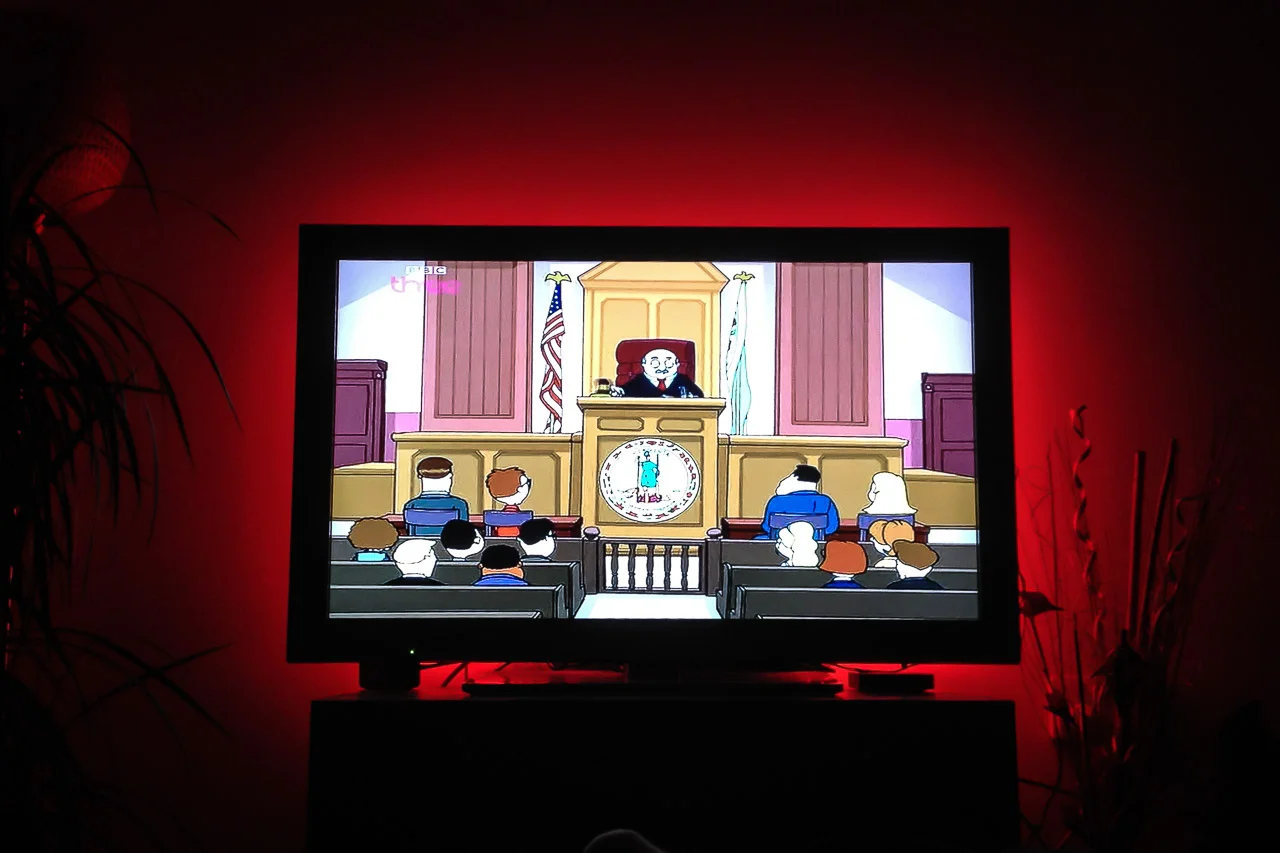
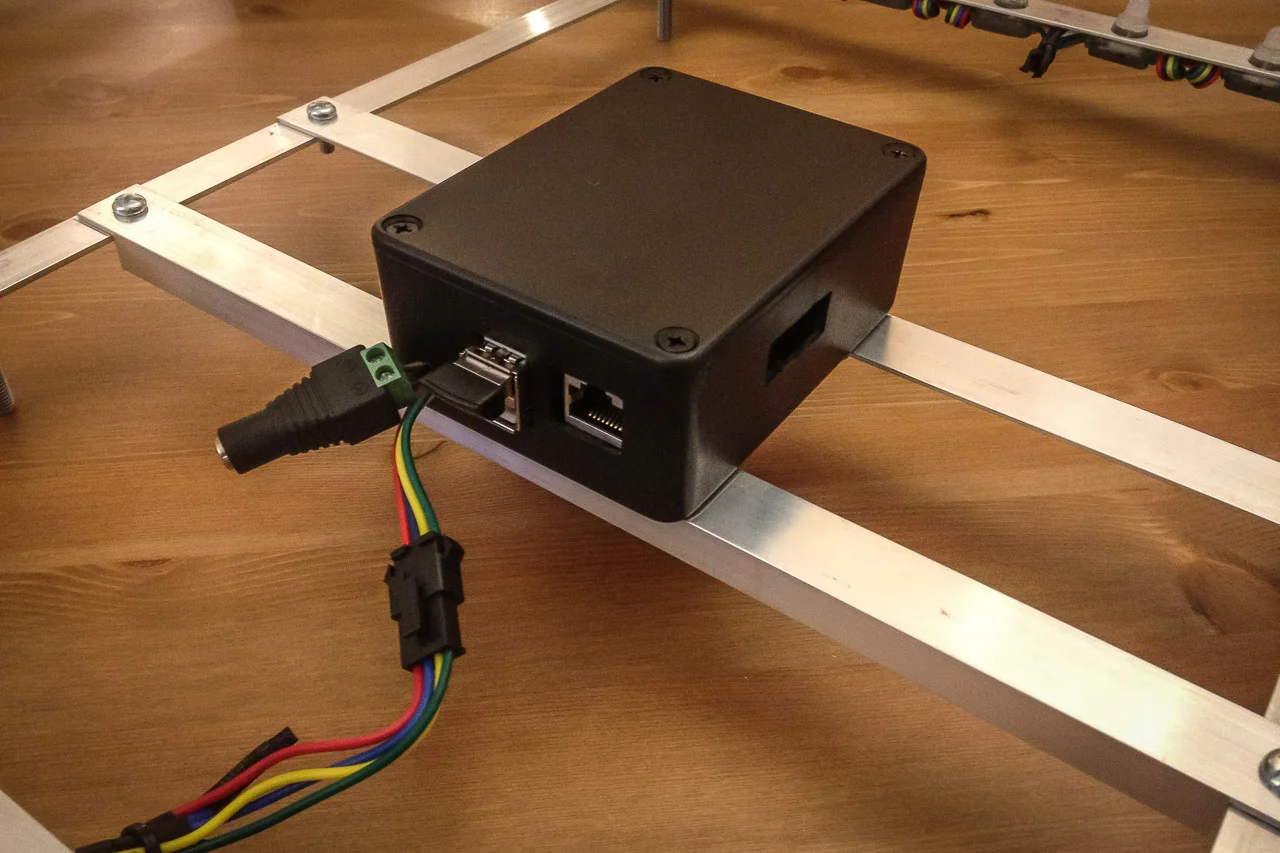
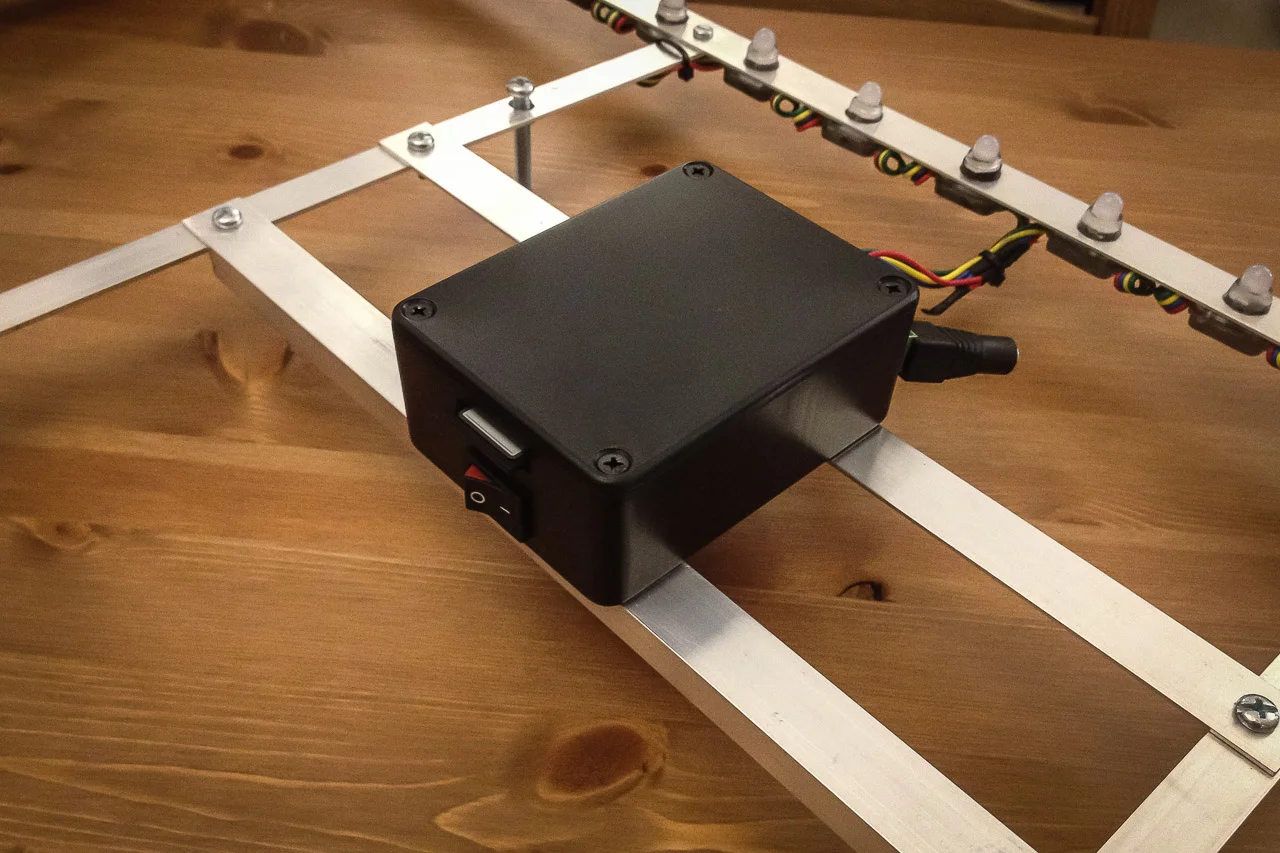
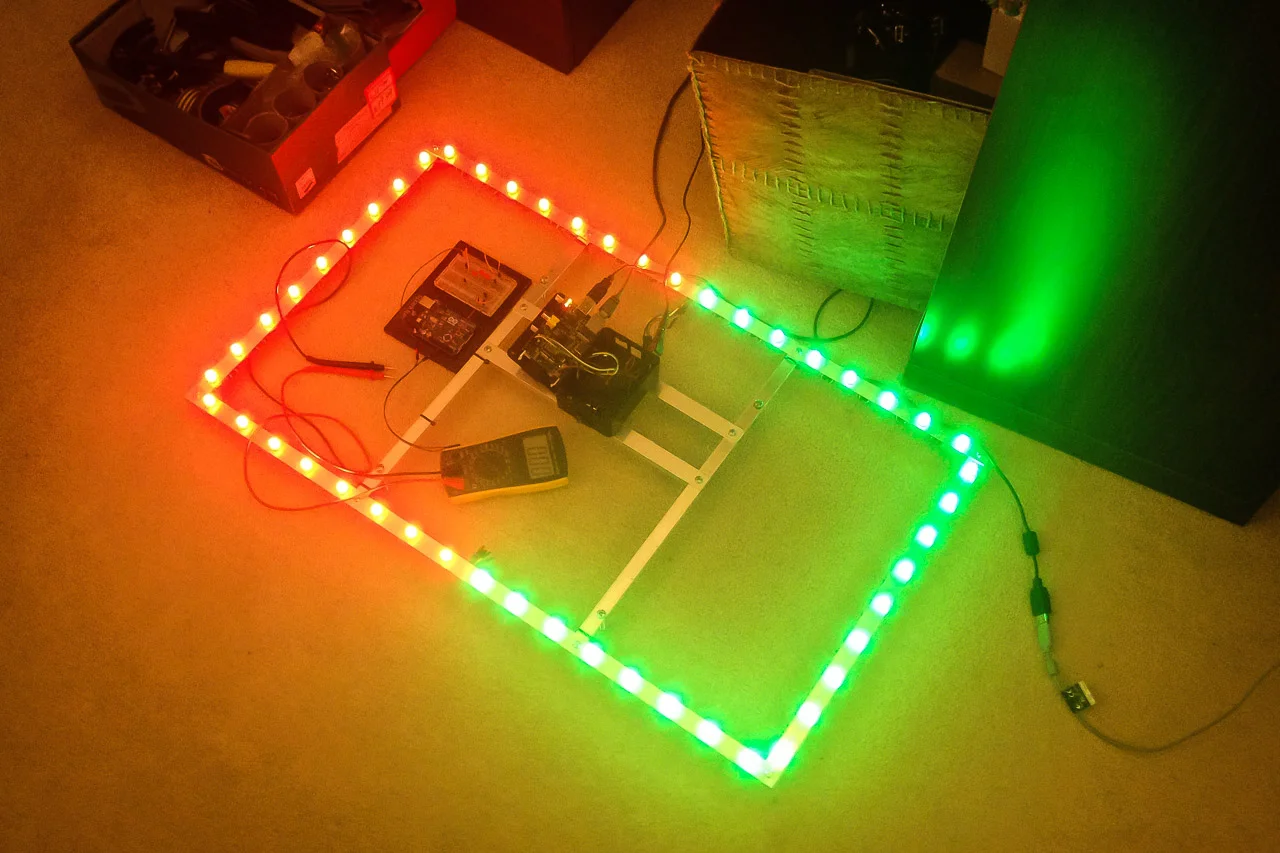
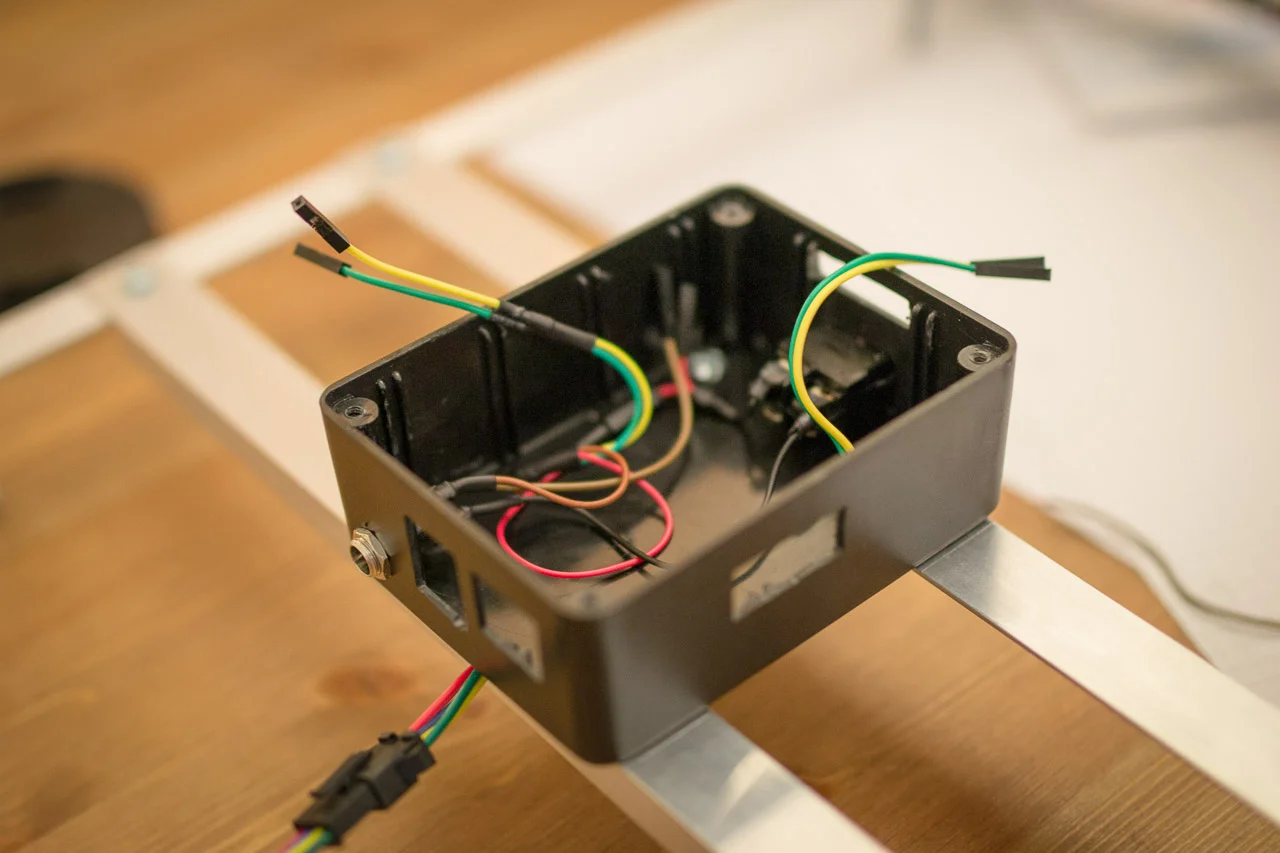
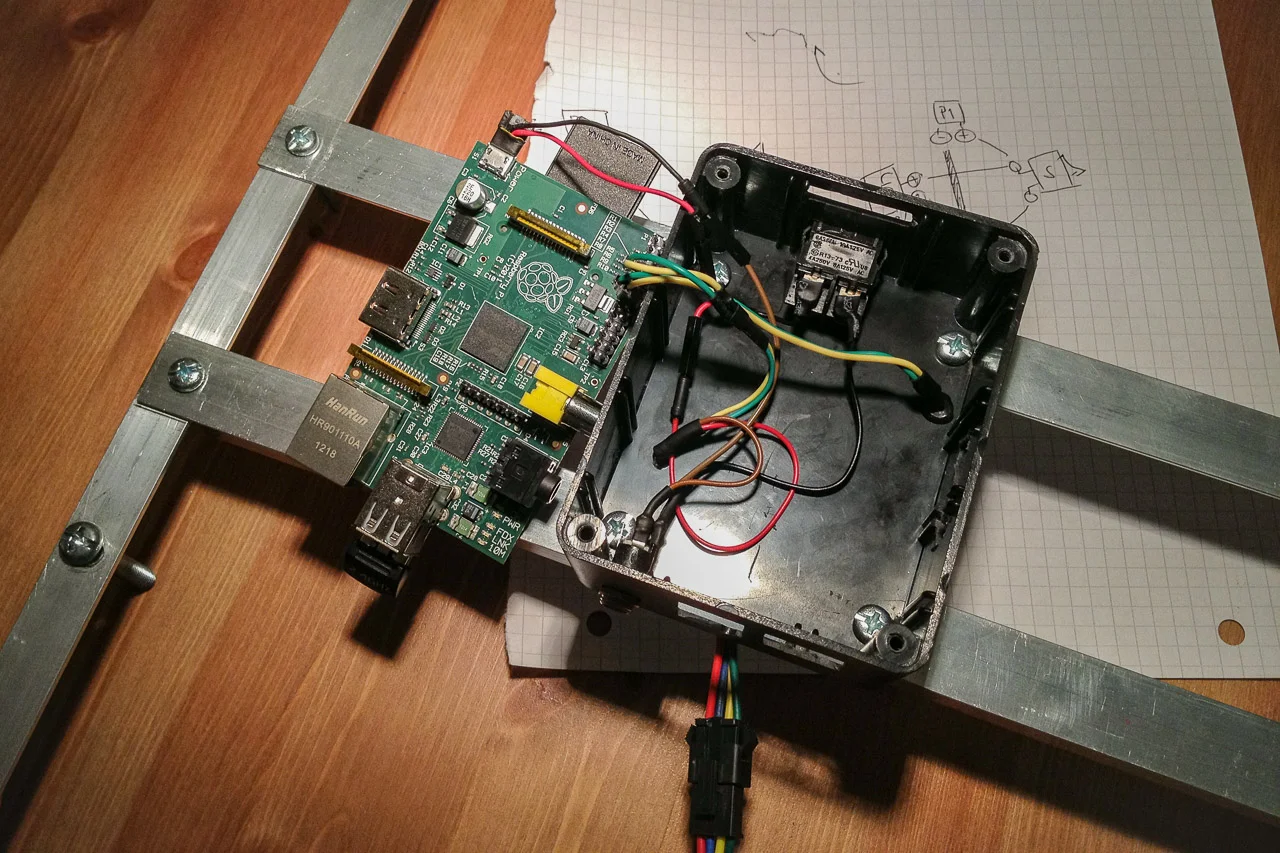
The following gallery shows my process making the frame.
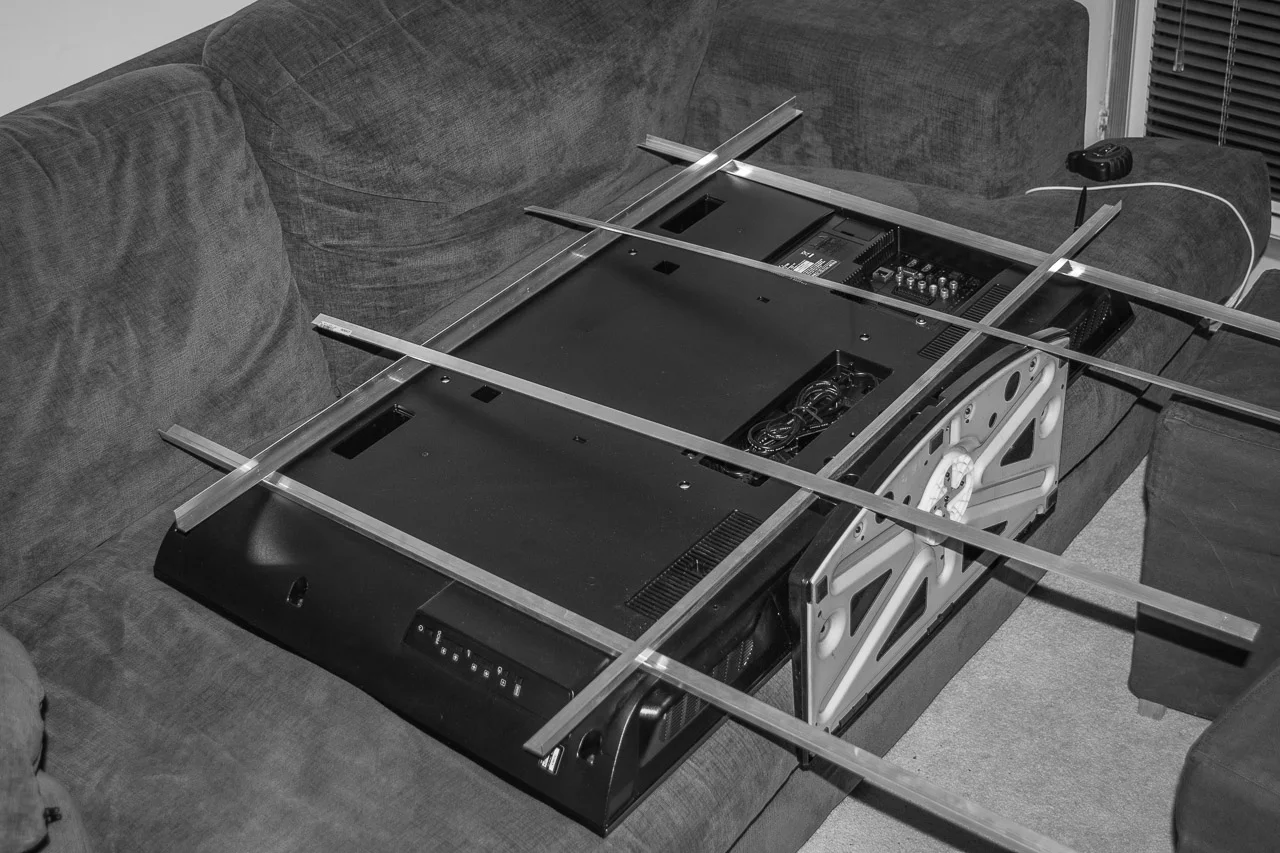
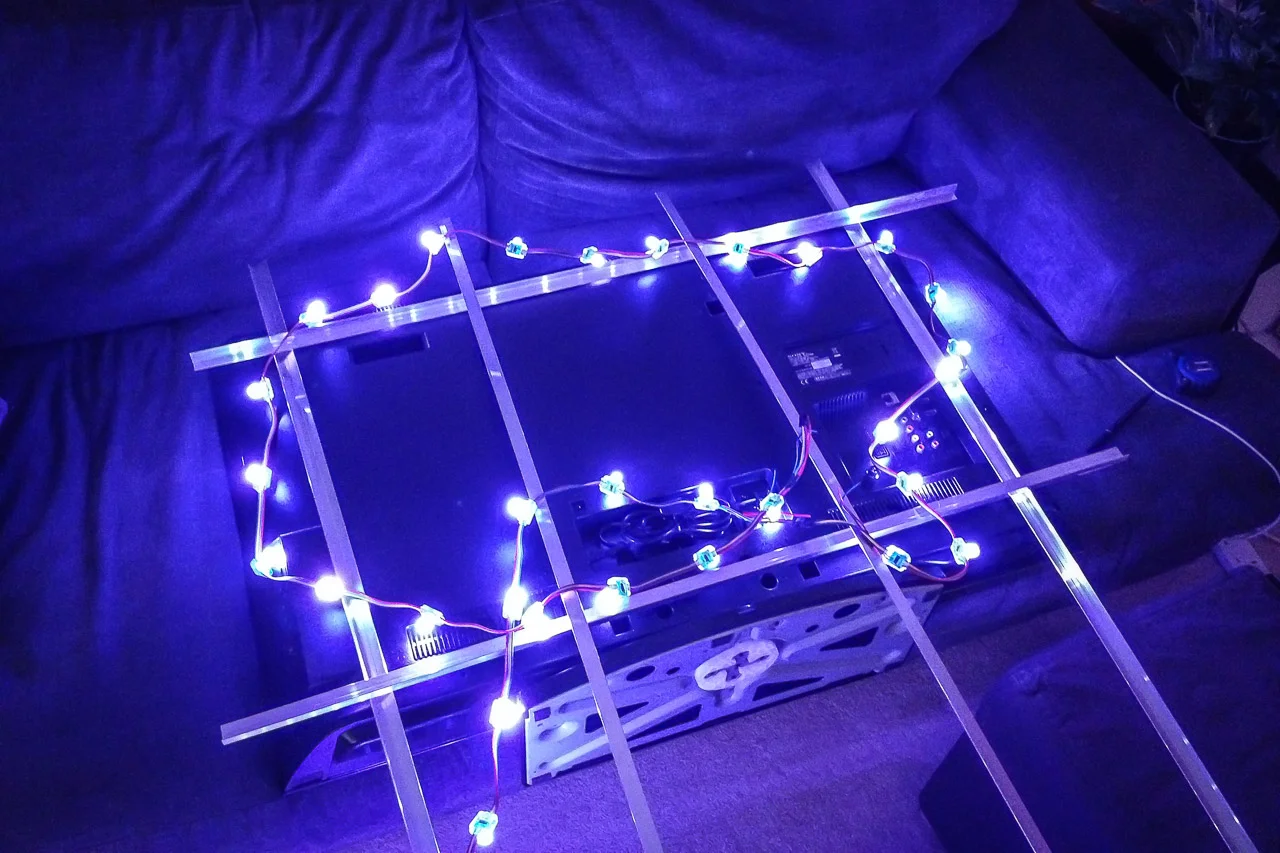
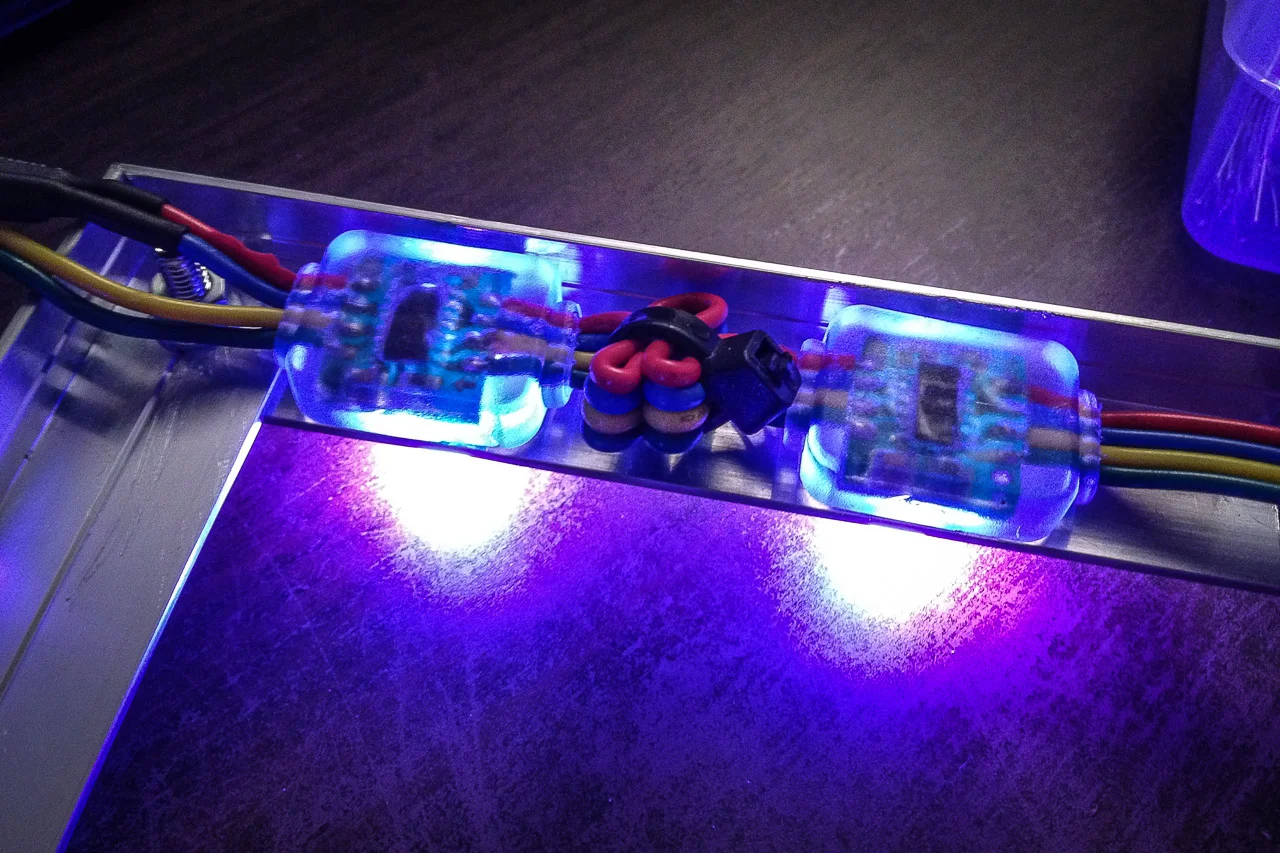
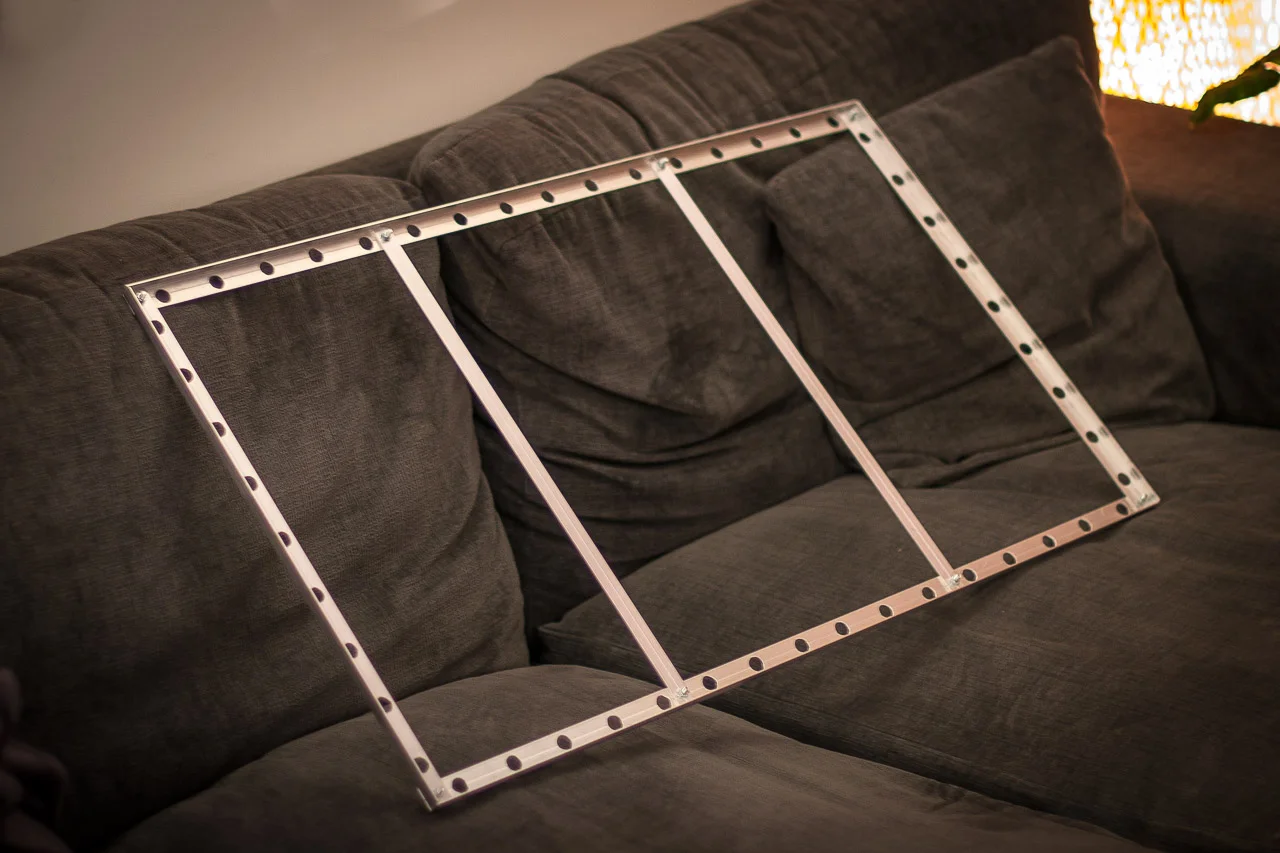
At this point, I started to work on the server code for the Raspberry Pi. The first implementation was a Python program running in Debian linux LXDE gui mode. This was a failed approach for two reasons:
- The GUI mode was using too many resources on the Pi, so the experience would be quite sluggish
- The Python GPIO library (wiringPi) I was using wasn’t fast enough to update 50LEDs.
So I went with a custom C implementation using the wiringPi C++ library. I wrote all the code on my PC and synced it to the Pi using rsync. The source code for the server is on GitHub — it should be fairly self-explanatory if you’re familiar with C++.
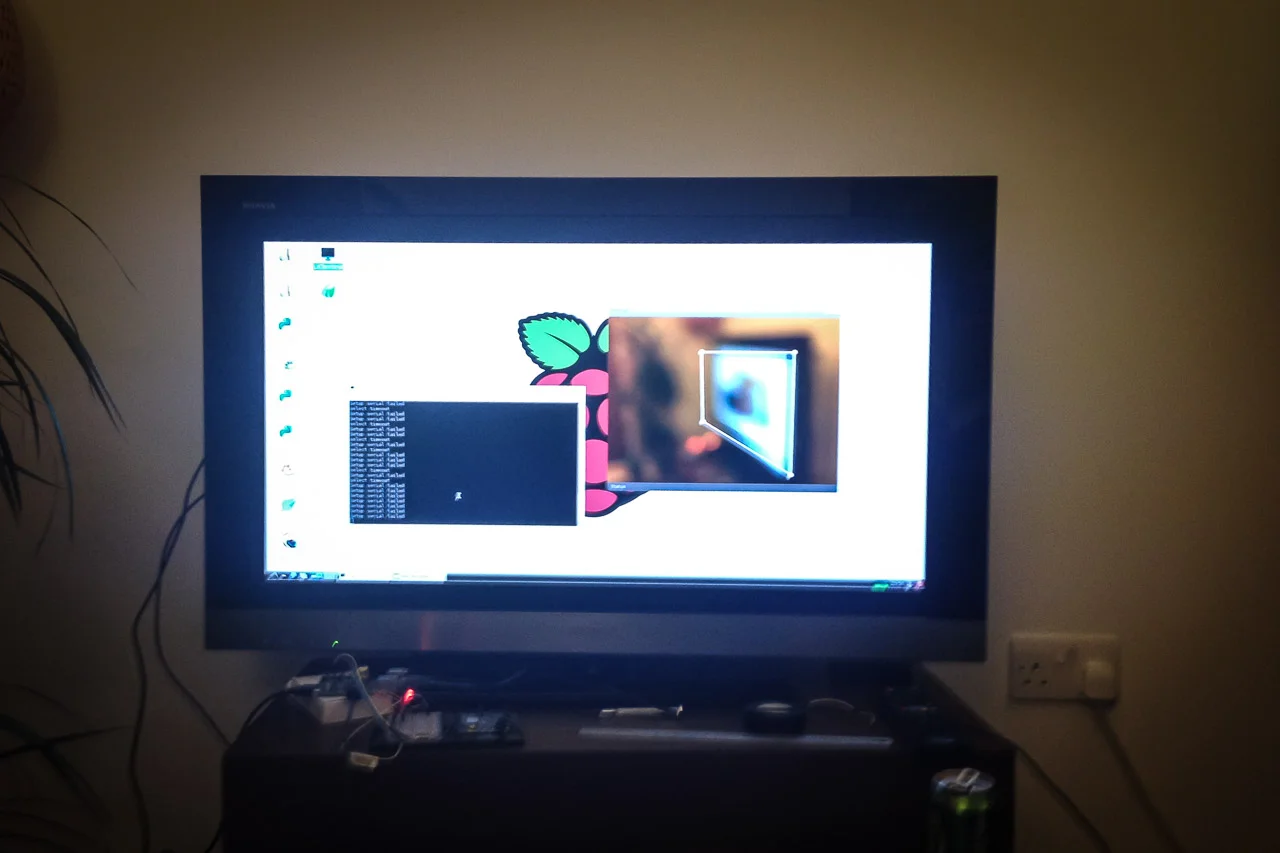
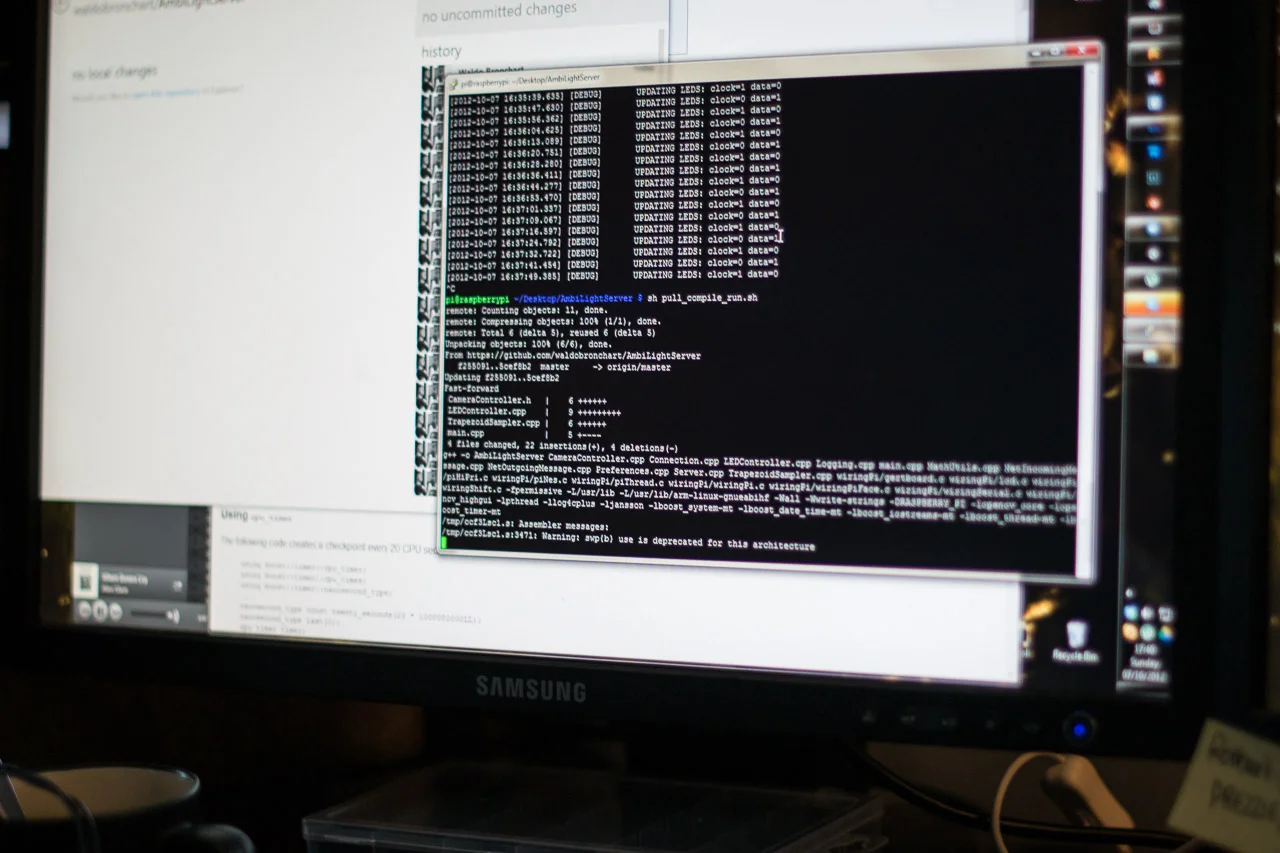
I used OpenCV to capture frames from the webcam, jansson for JSON settings, Log4CPlus for logging, and Boost for network communication with a client program running on my PC.
The client is used for tweaking camera color settings and setting the capture bounds of the frame. It communicates directly with the server on the Raspberry Pi. Here’s how it looks:
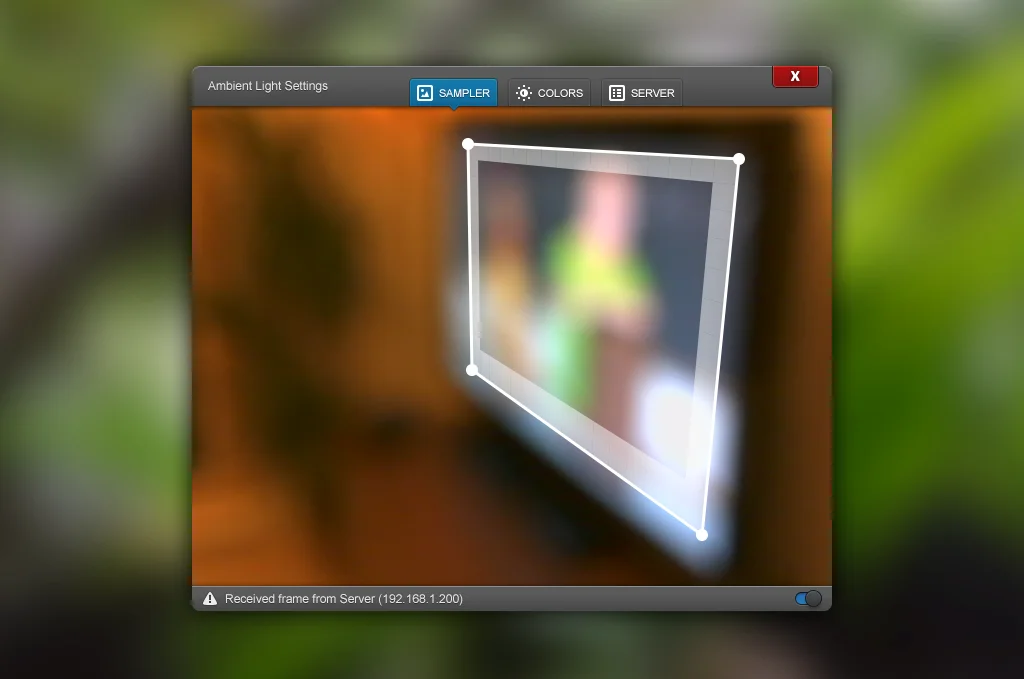
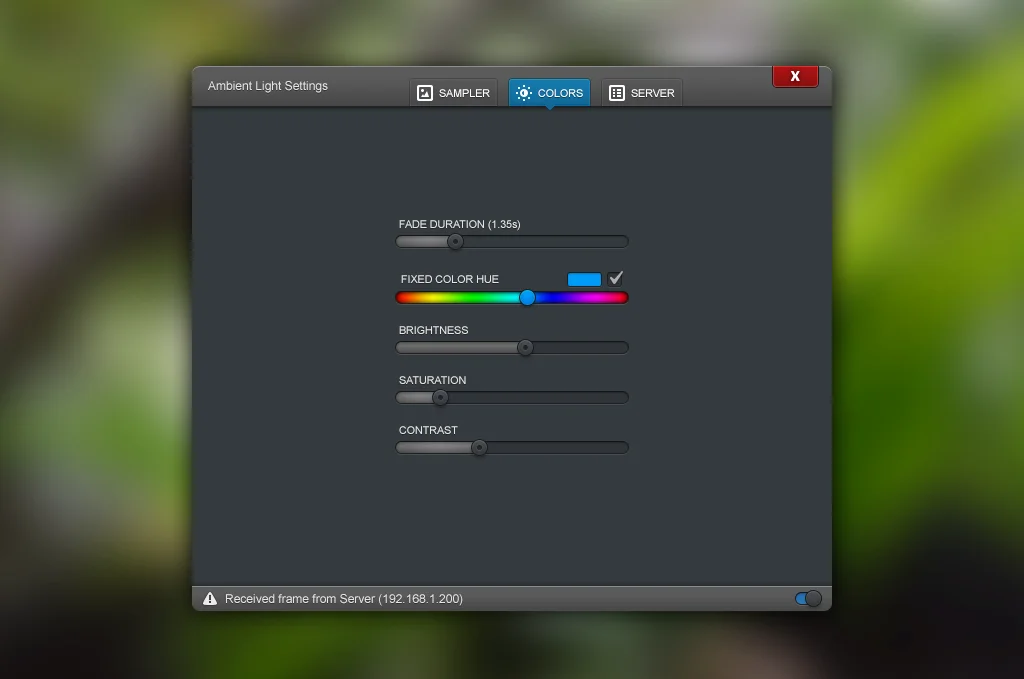
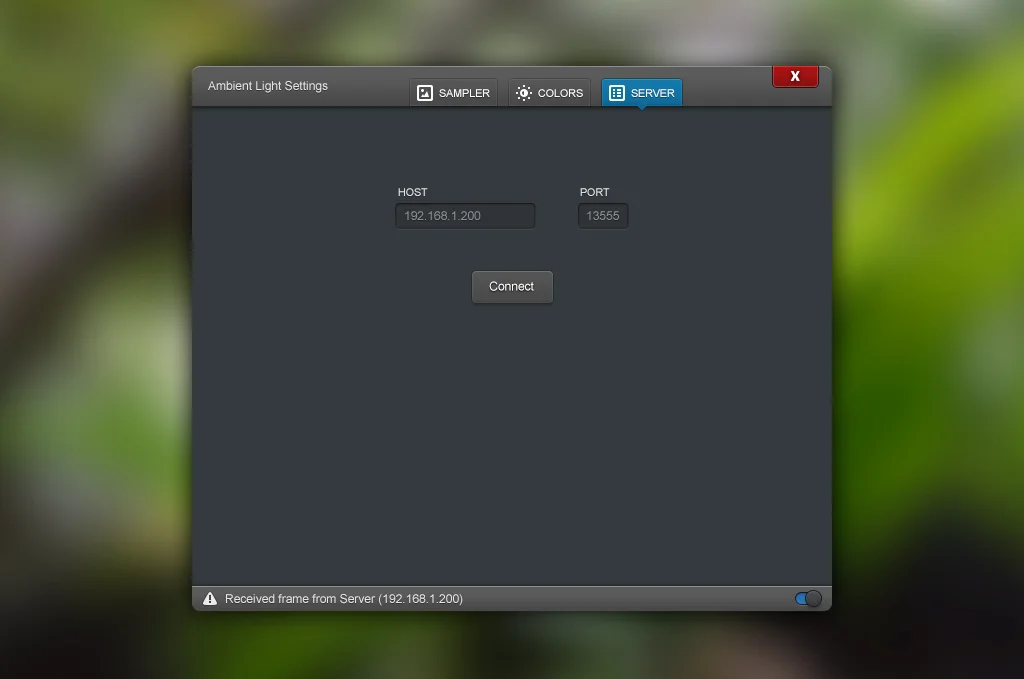
At this point I had everything pretty much working, and the main task now was to clean everything up and attach the Pi to the frame.
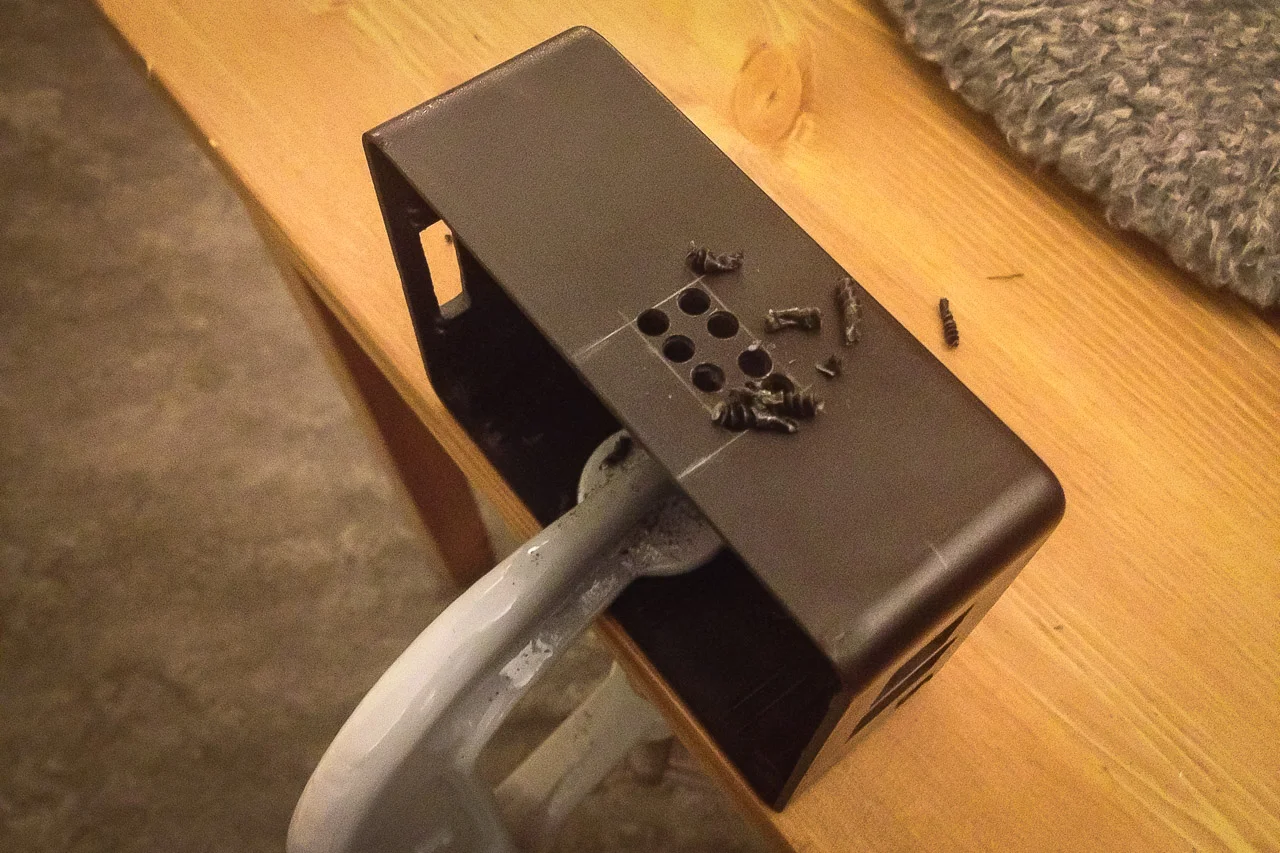
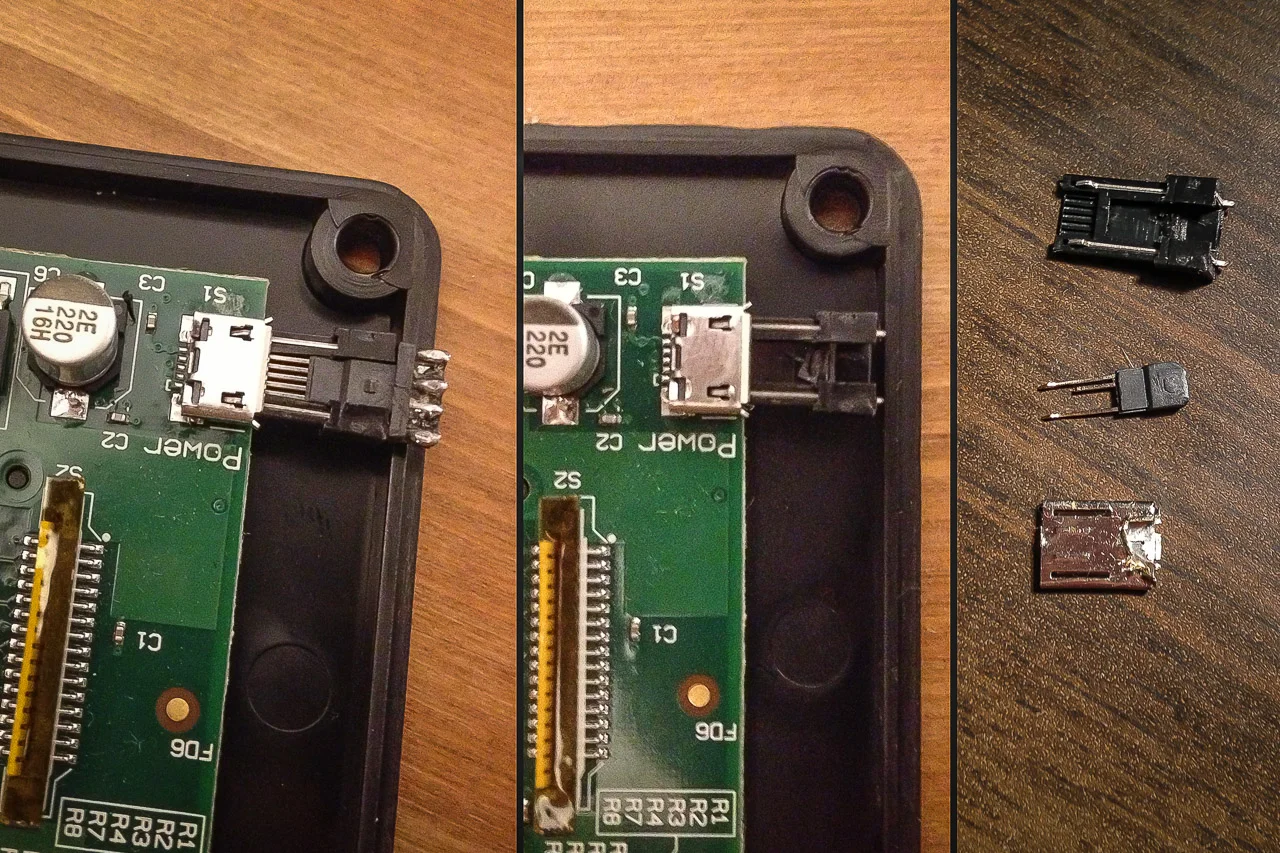
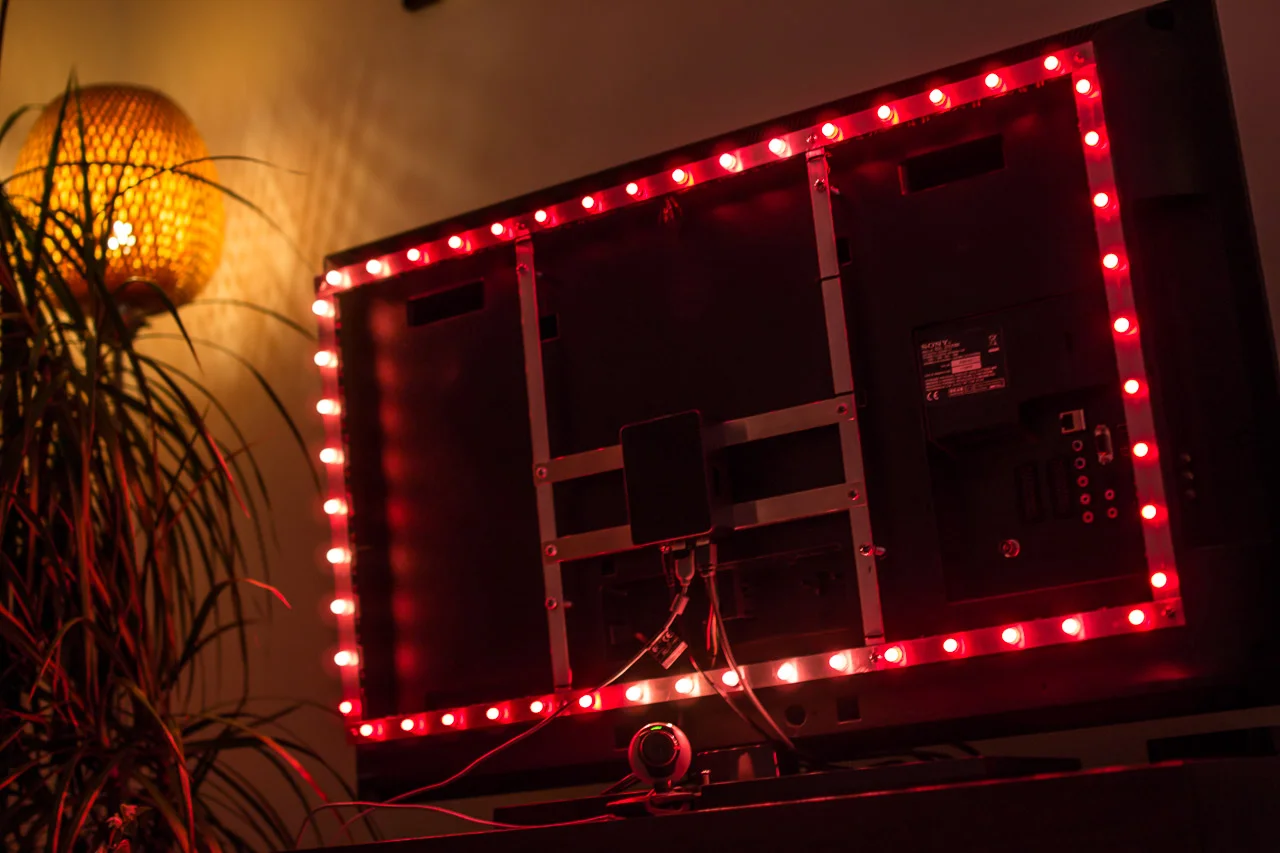
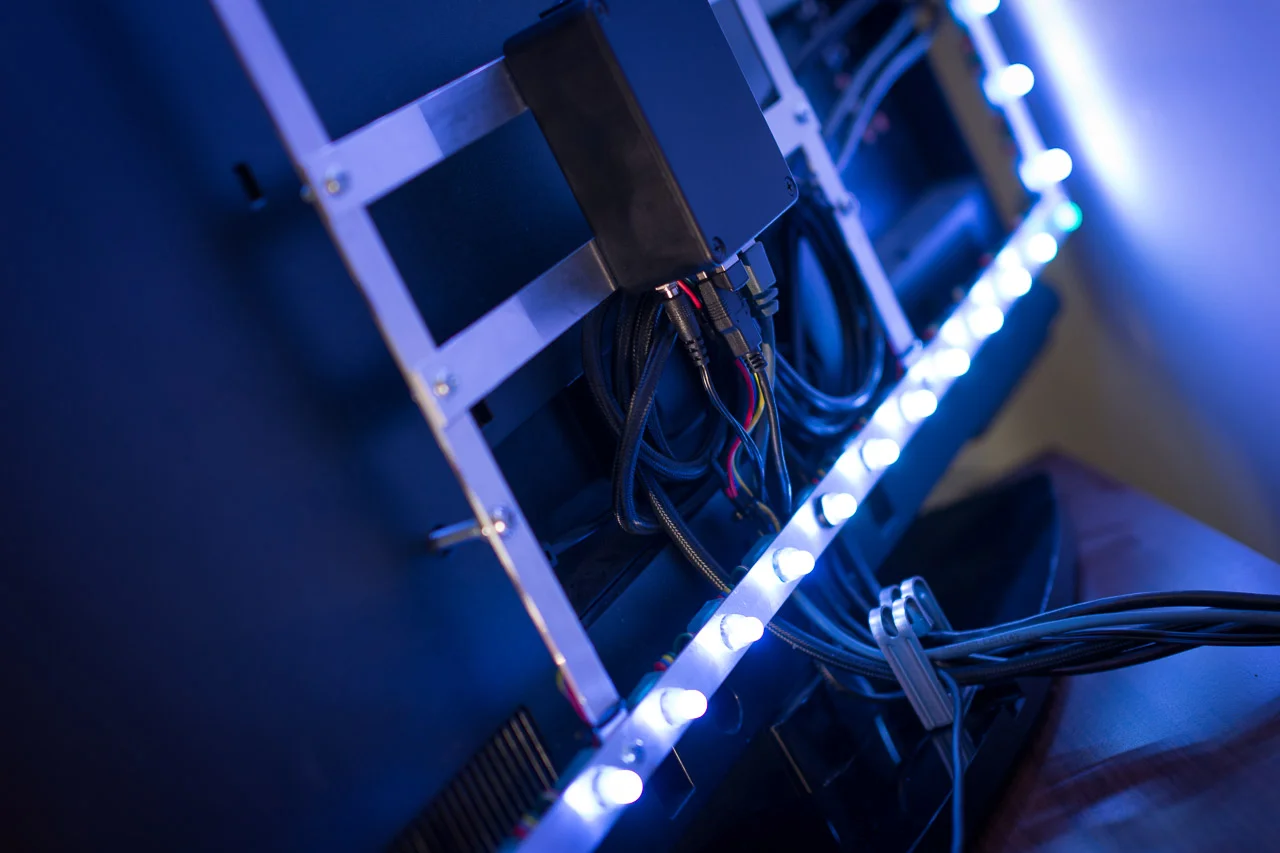

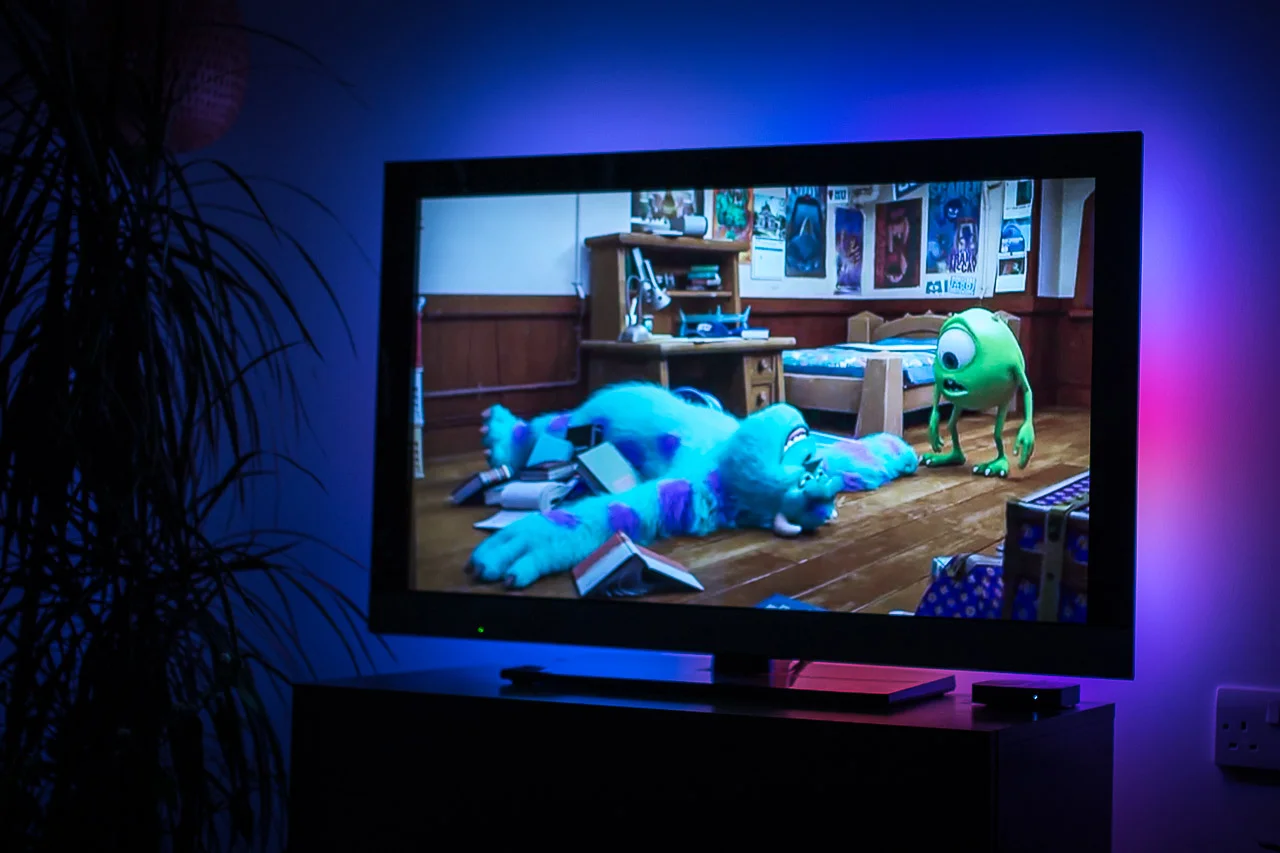
Capturing at full 640x480 was very slow — I suspect due to the limited USB bandwidth on the Pi. I had to drop all the way down to 160x120, which gives a relatively stable 20 FPS.
The LEDs lag about 2 frames behind the TV. It’s noticeable, but you get used to it. Blending previous frames with the current one helps smooth out the color transitions.
The other bottleneck was the webcam’s auto exposure: when the screen is dark, the camera takes longer per frame. The Linux driver I was using didn’t let me set a fixed exposure. Update: I eventually found a way to lock the exposure, and it now runs at a smooth 30 FPS.
If you’re interested in building one of these, here are some resources I used: